Showing posts with label Cake. Show all posts

Monday, July 24, 2017

We Love the 80's


     Every year for my birthday I do a fun themed party.  Last year, yep last year ( I am finally getting around to posting up the photos) I hosted an 80's party.  All my friends dressed up and we had a blast. Check it out!


We ALL had a BLAST that night!  Everyone totally ROCKED the 80's!


post signature

Monday, February 29, 2016

Happy Birthday IKEA

     Ok, so today's post really isn't about IKEA's birthday.  Sorry IKEA.  No, today is about the creative construction, ahem, let me correct that... the deconstruction of a cake.  Not just any cake...a cake for IKEA.  Get it? No...ok, well let me explain.  Awhile back one of my blogger friends, Tamara, over at Confessions of a part-time working Mom posted up this picture.....


     If you a frequently customer of IKEA's they you see the comedy behind this picture.  If not, then I suggest you get yourself to an IKEA!  Just kidding.  IKEA is well known for their ready to be built furniture system.  Why buy a ready made bookshelf, when you can build it at home right?  Get the picture now?  Great! On to the challenge at hand...

     So back to my friend Tamara, after she posted the picture she challenged us to come up with our own version of a birthday cake for IKEA.  After a little bit of brain storming, I accepted the challenge.  Now to figure out exactly what I was going to create was my next step.

     Just for a bit of inspiration, I decided to take a little visit to our local IKEA while the kiddos were in school, which is only like 10 minutes from our house.  Pretty awesome right?   As I was strolling around, which seemed like an endless maze of a showroom, I actually got to observe the other shoppers, inspect some of the items, and just take my time looking at things I wanted to look at, without the nagging of a hungry bored child whining to go home (the first time we tried to go there was on like the busiest day EVER and the kiddos did NOT want to go the kinder play place, needless to say it was as short visit). 

     I was so mesmerized by mommy freedom, I actually wind up purchasing a few items and made some mental notes (and took some pictures) of a few furniture pieces to start setting up the extra room for my office/photo studio upstairs.  Before I knew it, it was almost time to go pick Kinley up from Kindi.  So, thinking back to the challenge...how can I make an IKEA cake?

     The deconstruction of cake ingredients has already been done in the picture above.  So how could I make it interesting and still relatable to IKEA?  Then it hit me as I was checking out.... 

MEATBALLS! 

     IKEA is known for their meatballs in sauce with a side of Lingonberry jam.  It's probably their best seller in their restaurant.  I knew this would be perfect! So there ya go, that was my inspiration for my IKEA Meatball Birthday Cake!  

  While on my little trip I picked up a bag of their famous KÖTTBULLAR Meatballs, a packet of GRÄDDSÃ…S Cream Sauce, and a jar of SYLT LINGON Lingonberry Preserves and then got creative!


First, I placed the frozen meatballs in the oven according to the package.


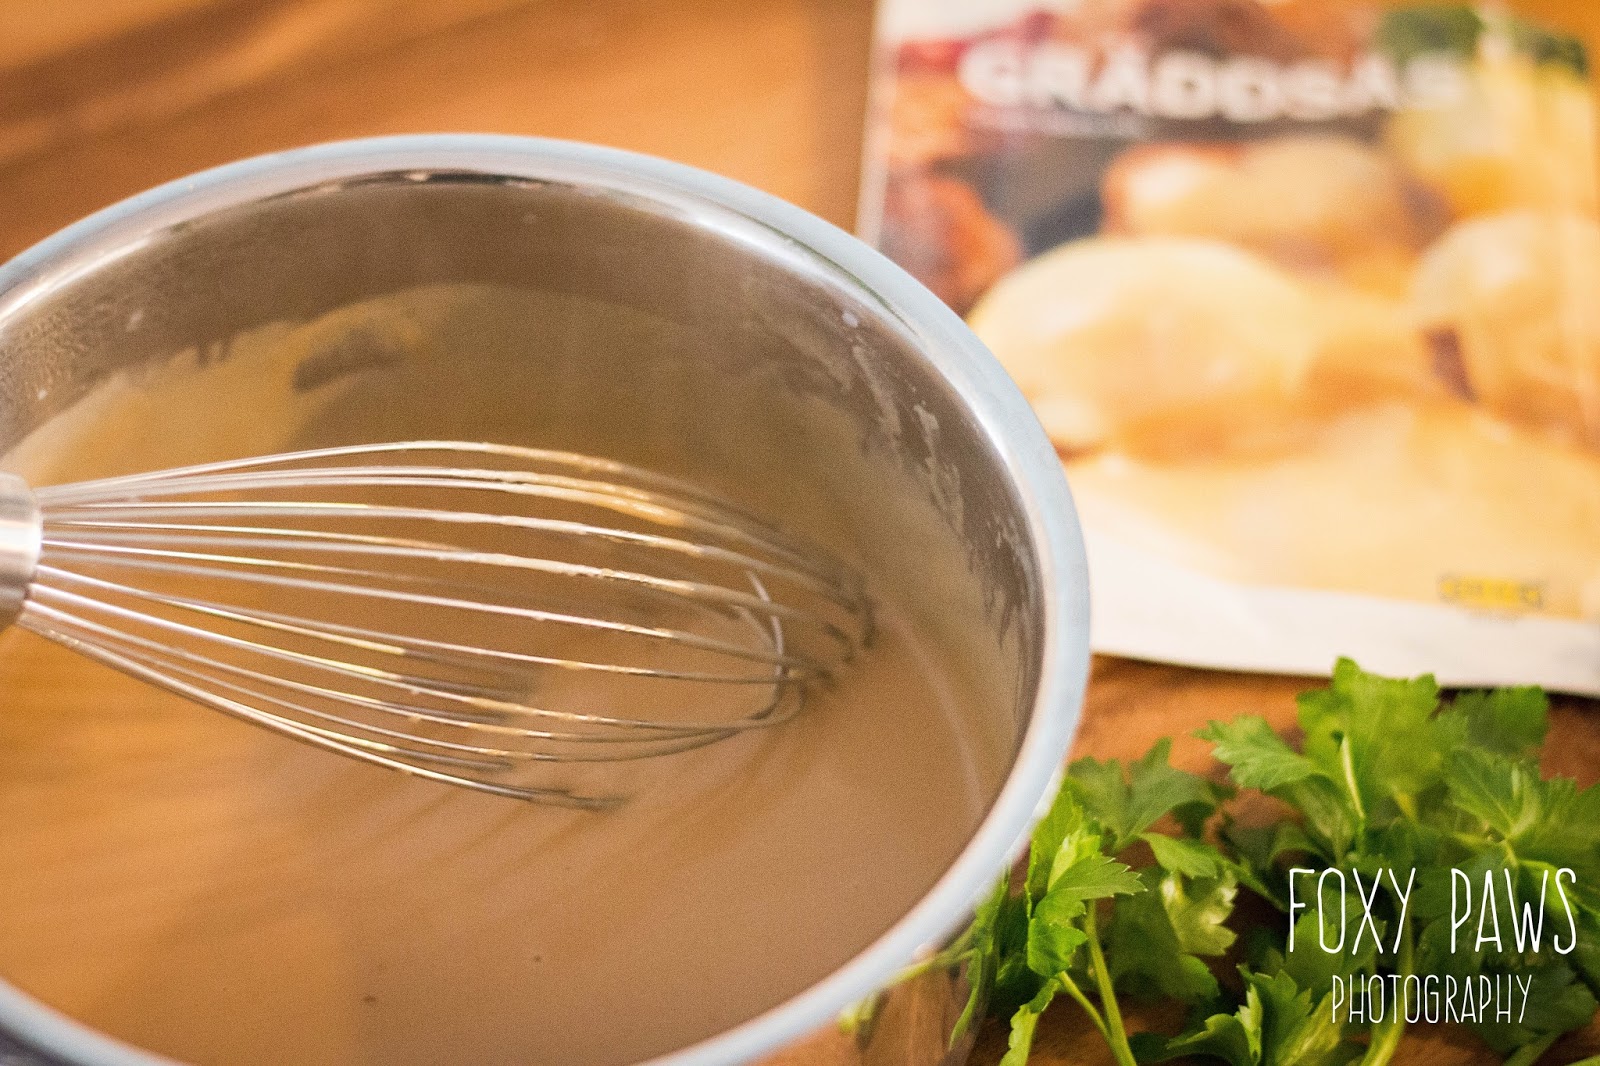
While those were cooking I prepared the sauce.  It was really simple, just some water, cream, and the sauce packet, let simmer for three minutes while stirring.


When the meatballs and sauce were done, I made a little pyramid with the meatballs layering a bit of sauce in between.  Then finished it with some lingonberry preserves.  


I know it's not a tradition "cake" but hey, it's for IKEA!  What says IKEA more then a meatballs, right?!  It actually turned out very tasty and the kiddos gobbled it right up!


Happy Birthday IKEA!

Check out these other creative IKEA cakes:


post signature

Thursday, August 27, 2015

Nectarine & Blueberry Cake

     A couple of weeks ago my MOPs (Mothers of PreSchoolers) group got together to do some crafts, so I baked up this cake to share.  It was quick, easy, and yummy!


Modified from Julia's Album's recipe


What you need:

1 1/2 cups all purpose flour
1 tsp baking powder
1/2 tsp baking soda
1/2 stick butter, softened, room temperature
1 cup sugar
2 eggs, room temperature 
1/2 tsp vanilla
1/2 cup Greek yogurt
2 nectaries, sliced into wedges
6 oz blueberries, washed and dried
1 tsp granulated sugar

How to make it:

Preheat oven to 350˚F with the rack in the middle of the oven.
Grease the side and bottom of the pan with butter or cooking spray.
Line the bottom of a 9x3 inch springform pan with parchment paper.
Grease the parchment paper to.
Sift the flour, baking powder, basking soda together in a medium bowl.
In a sperate bowl, beat the butter, sugar, and 2 eggs until very light in color and fluffy. 2-3 minutes on high speed.
Add vanilla and Greek yogurt, continue beating until very creamy and light in color for about 1 more minute.
Keeping the mixer on low speed, mix in the flour mix until well combined. DO NOT overmix.
Transfer the cake batter to the springform pan.
Top with sliced nectarines and scatter blueberries evenly on top in the spaces between the nectarine slices.
Sprinkle the fruit with 1 tsp granulated sugar.
Bake until cake turns golden and the tester comes out clean in the center, about 1 hour, depending on the oven.
Midway through baking, put some extra nectarines and blueberries on top of the cake and return it to baking.
When the cake is done baking, let it cool in the baking pan on a wire rack.
After the cake has cooled for about 40 minutes, release the cake from the springform pan.
Transport the cake to a platter, sprinkle on some powder sugar then ENJOY!


post signature

Sunday, August 3, 2014

Happy National Watermelon Day

     Throughout the year I try to find fun holidays to celebrate with the kiddos.  August 3rd marks the day to honor the juicy watermelon on National Watermelon Day!  I, personally, am not a fan of watermelon, or melon, or honeydew, or cantaloupe as a matter of fact.  But it doesn't stop me from coming up with creative ways to enjoy a "watermelon," even if it's Watermelon Cookies like I made last year, or these yummy Watermelon Cake Pops I made this year.  

Recipe adapted from Diva's Can Cook


 ** I usually make all my cakes & frosting from scratch, but for these I used a boxed cake mix and pre-made frosting **

What you need:

Any flavor cake, prepared according to box (I used the Duncan Hines Limited Edition Holiday Velvets Cake Mixes) **
Vanilla or Chocolate Frosting (depending on the cake flavor, I used vanilla)
2 packages melting chocolates (I used the Wilton Green Candy Melts)
Cake pop sticks
Sprinkles


How to make them:

Add the cake to a large bowl.  (If using two colors as I did, you will need two separate bowls)
Crumble the cakes until it resembles fine crumbs.
Add in the frosting a little bit at a time until the cake is moist and can hold a ball shape, yep still slightly crumbly.
Use your hands to incorporate the frosting into the cake crumbs.
Use a mini ice cream scoop, scoop out some cake, roll and shape into tight balls.  (I also put some mini chocolate chips into the center ball to act as "seeds" for my Watermelon Cake balls)
If using different colors, roll a smaller ball in one color then using the other color cake cover the ball entirely forming one large ball.
Roll the rest of the mixture into tight balls and place on a plate or a mini muffin pan.
Melt 2-4oz of the melting chocolate in a microwavable safe bowl.
Dip the tip of a cake pop stick into the melted chocolate then insert it into the cake ball about half way, repeat with remaining balls.
Freeze for about 20 minutes.
Meanwhile, prepare the decorating supplies.
Melt the remaining chocolate in a large cup, make sure you have enough chocolate to completely submerge the cake ball.
Remove the cake balls from the freezer.
Dip the cake balls carefully into the chocolate until covered.
Let the excess chocolate drip off, swirl and tap gently if needed.
Add the sprinkles while the chocolate is still wet. (it hardens quickly)
Stick the decorated cake pop into a styrofoam block to finish setting.
Place into the refrigerator to speed up setting time.
When completely harden, either cover with a clear treat bag and ribbon to hand out as gifts or
store them in a single layer in an air tight container or freeze them...or
ENJOY one now!


     Last year was our first celebrating National Watermelon Day, here are the Watermelon Cookies I made last year!  Everyone was so impressed by them and they tasted really good too!


If you're looking for some fun facts about watermelons to baffle your friends, check it out here!

HAPPY 
WATERMELON
DAY!

post signature

Wednesday, May 28, 2014

Queen Victoria Cake


     This month's book for Book Club was Call the Midwife.  Since this book is based in England I thought I would make a yummy Queen Victoria Cake to share.  If you haven't read this book I totally suggest it.  There is even a television series on PBS and Netflix.  I can't wait till season 4 comes out!

Recipe from SAVEUR

Here's what you need:

3/4 lb plus 1 TBsp salted European-style high fat butter (room temperature)
3 cups plus 1 TBSP self rising cake flour
1 1/2 cups granulated sugar
4 eggs (room temperature)
1 1/4 cups double Devonshire Cream
3/4 cup high-quality strawberry jam
confectioner's sugar

How to make it:

Preheat oven to 360˚F.
Grease two 2"-deep 8" round cake pans with 1/2 Tbsp butter each.
Dust each with 1/2 Tbsp flour, set aside.
Beat remaining butter in a large bowl with an electric mixer on high speed for 5 minutes.
Add granulated sugar and beat until light fluffy.
Combine eggs and 6 Tbsp water in another bowl.
Add half the egg mixture and half the flour to butter-sugar mixture.
Beat well for 1-2 minutes.
Add remaining egg mixture and flour, beat batter for 5 minutes.
Divide batter between prepared pans.
Bake until a toothpick inserted in center of the cakes comes out clean, 35-40 minutes.
Invert cakes onto a rack, remove pans, and let cool completely.
Beat cream in a medium bowl until stiff.
Put one cake layer on a cake plate, spread top with half the jam, then cover jam with cream.
Spread top of remaining cake layer with remaining jam and place it, jam side down, on top of the cream.
Dust cake with confectioner's sugar.
Slice then ENJOY!


post signature
Related Posts Plugin for WordPress, Blogger...
1 09 10