Wednesday, April 4, 2012

Mad Hatter Tea Baby Shower

     Another baby shower, another theme...this time we planned a Mad Hatter Tea.  I was totally inspired by the Alice in Wonderland Halloween Party for Adults pictures I saw in Better Home and Gardens.  It was so cute and had such great ideas, I knew I had to throw a Mad Hatter tea for someone.  When Tori, also known as Lil' Mrs. Crafty to the blogging world, announced she was preggers, I jumped at the chance to suggest this theme.  My friends, Kristi, Gina, known for her blog G's Guide to Mom Style,
and I teamed up to host Tori's shower together.  We all agreed it would be a fun theme, so we let our creative juices run wild!


     Here's some of the pictures of the decorations:


Invitations were ordered from polygraphics


     Before we ate, at each place setting I came up with a riddle for each guest to read, as a sort of ice breaker to let everyone get to know each other.  Kristi and I made them look so cute by printing out the riddle on white paper, cut it out with scrapbooking scissors, then antiqued it with stamping ink, next stapled it to the paper tag of a tea bag.  They looked so cute and were a big hit.


     A tea party isn't complete unless there are some yummy petite sandwiches....  We made a variety of delicious items to choose from. 
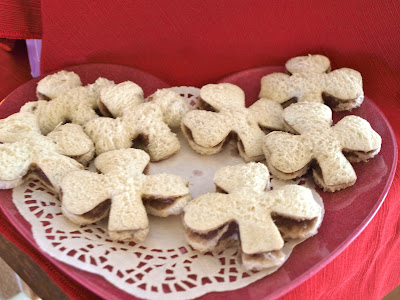


PB & J Sandwiches shaped like Clubs

Cucumber  Sandwiches to look like playing cards

Goat Cheese & Watercress Sandwiches


Chicken Salad Heart Sandwiches 

Fruit Salad in swirly orange bowls

Fresh Carrots and Ranch in pots

Mini Cheese balls and Crackers

Spinach Salad with Berries and Almonds in a Parmesan Crisp bowl

On to desserts.....

Sugar Cookie Teapots


Rainbow Swirled Cupcakes
Meringues, French Macaroons, & Tarts
Queen of Hearts Tarts
Recipes:


     A baby shower wouldn't be much fun without some shower games.  For this shower I stepped out of the traditional "measure the belly" game, "guess the candy in the diaper" game, and even the baby item scramble game.  Since it was a Mad Hatter themed shower, I came up with three Alice inspired games.  The first, I call Queen of Hearts.  I placed a playing card randomly face down under the plate charger for each place setting, making sure someone would find the Queen of Hearts.  Whom ever found it would be the winner and receive a prize.  (By the way, guests were able to choose where they wanted to sit, to make it fair)  But, instead of just looking under their charger, I had the ladies stick the card facing out to their forehead so everyone could see the card except for the person with the card.  It was so funny seeing the ladies with cards sticking to their heads.  And it just so happens, Tori, the guest of honor found the Queen of Hearts!


     The second game I had planned was matching a character from Disney's 1951 animated movie "Alice in Wonderland" to their memorable quote.  We printed out the quotes and characters, then glued it to some plain black and red scrapbook paper, next stuck on some stickers to make it look like a big playing card.  I timed the ladies for one minute and who ever matched the most right won a prize.


     The last game we played was an "Alice in Wonderland" scavenger hunt.  Kristi and I came up with a list of twenty different items that could be found on the table scape.  Some were easy, like a red rose, where as others, like a a golden key and chess piece, were a little harder to find.  I printed out the list and then we attached it to the back of the quote game and decorated it with a colorful key scrapbook accent.  The first one to find all the items on the list won the prize.  Overall, the ladies loved all the games, they were simple yet fun!


  After the games we showered Tori with gifts, mingled a bit, enjoyed some more food, and then went outside to take some pictures.


     After pictures and saying our good-byes, all our guests took home two favors, one was a small bottle of Martinelli's Sparkling Apple Cider with a tag labeled "Drink Me" and a home made sugar cookie teapot with a tag labeled "Eat Me".   It turned out to be an amazing day filled with great memories and wonderful friends.  Everyone enjoyed themselves and most of all Tori was surprised!


Easter Egg Cards

     WOW! Did Easters sneak up on you as it did me?!  Can't believe Easter Sunday is literally right around the corner.  So with keeping with our holiday tradition, Liam and I made some Easter cards to send to our friends and family.  I found a great craft on a great blog, Little Wonders' Days,  that looked like a lot of fun and used very simple supplies.  Liam and I had a great time and made some wonderful Easter Egg cards.  Check 'em out!


Supplies:
  • Shaving Cream
  • Tray
  • Acrylic Paints
  • Toothpicks
  • Squeegee 
  • Cardstock or Scrapbook Paper
Here's the directions:

  • Spray some shaving cream on the tray, then spread it around to make it somewhat even.
  • Then squirt some acrylic paint on the shaving cream.


  • Using a toothpick, swirl the paint around in the shaving cream.


  • Using card stock or scrapbook paper, cut out some egg shapes.
  • Then gently press the paper egg into the paint and shaving cream mixture.
  • Lift the paper straight up and place shaving cream side up on some paper towels. 
  • Next, gently squeegee the extra shaving cream off the paper. (It will take off the shaving cream but not the paint)

  • Once the eggs are dried, Liam and I wrote notes on them for everyone.

Hoppy Easter Every Bunny!


Tuesday, March 27, 2012

Looking for an AMAZING Photographer?

One day I decided to do some family pictures, since we have never done them before we didn't know what to expect.  One of my friend's suggested Samantha Lovett Photography.  Samantha is a new and upcoming photographer, was very professional and her pictures were simply amazing.  She made us feel very comfortable and we had a great time.  I have continued to use her services for the past three baby showers I have hosted.  She truly can capture every moment with a simple click of the camera.  So if you're on the hunt for an incredible photographer, I would totally suggest Samantha Lovett Photography! 

Here's some of the pictures she has taken, some of our family and some from the baby showers:

Family Photos


Butterfly Baby Shower


Vintage Baby Shower


Mad Hatter Tea Baby Shower


A Big Shout Out...

   Two on my friend's have some A-Maz-Ing blogs you should check out!  If you're looking for some awesome crafty inspiration check out my friend Tori's blog Lil' Mrs. Crafty.  Here's one of her awesome crafts, stop by her blog and learn how to make it!


Tuesday, March 20, 2012

Easter Egg Garland

     It's craft time again!! With Easter right around the corner I have been looking for some great crafts for my MOPs (Mothers Of PreSchoolers) group.  I recently came across this blog, Crafty Endeavor, which had the cutest craft for Easter Egg Garland.  All the supplies were inexpensive and easy to find.  Here's how you make it....

Supplies

Supplies you will need:
  • 1/2 cup All Purpose Flour
  • 1 cup Liquid Starch (used Sta-Flo)
  • Spoon for mixing
  • Water Balloons
  • Embroidery Floss (lots of different colors)
  • Plastic or Paper Bowl
  • Gloves (if you don't want to get your hands messy)
  • Scissors / tweezers 
  • Hot Glue Gun
  • Yarn or extra Embroidery Floss to string up eggs
Directions:
     Mix 1/2 cup of flour with 1 cup of liquid starch in the plastic or paper bowl. (I was able to do 10 eggs out of one bowl of the mixture). Then pick the colors you want make your eggs.  If you can't find embroidery floss, you can substitute it for pearl cotton thread or crochet thread.
    Then stick your floss into the bowl with the starch mixture, but DON'T drop it all in at a time, will result in a huge knot!  Instead coil your floss into the bowl and press it in gently.  Next blow up your water balloons and wrap the gooey floss around the balloon.  Make sure you wipe off the excess mixture back into the bowl, and that it isn't drippy.  One package of embroidery floss is enough to do one balloon.
     
The balloons wrapped with floss, drying.
      It will take several hours for them to dry.  Once dried, pop the balloon and I used tweezers to get the popped balloon out.  Then scraped some of the extra crusty stuff off in between the floss.  
     Once they are dried and crust free, you can either use them for decorations like in an Easter Egg Basket or a Trifle Bowl.  Or you can string them up with yarn or extra embroidery floss.  You'll just need to use the hot glue gun to attach the yarn or floss to the eggs so they don't move when you hang them.


     I really enjoyed doing this craft.  It was a little messy, but fun none the less.  Hope you have fun making your own Easter Egg Garland.  

Hoppy Easter Every Bunny!


Sunday, March 18, 2012

Dr. Suess Day

     Did you know.....

  • In 1960, Bennett Cerf, Seuss’ editor, bet Seuss he couldn’t write a book using only 50 words. The resulting story was ‘Green Eggs and Ham’ which uses exactly 50 words. Appearing in this order, they are: I am Sam; that; do not like; you green eggs and ham; them; would here or there; anywhere; in a house with mouse; eat box fox; car they; could; may will see tree; let me be; train on; say the dark; rain; goat; boat; so try may; if; good; thank. We could not say that five times fast. Would not, could not.   Huffington Post

     In honor of Dr. Suess' birthday I decided to throw a little get together where we could enjoy some fun Dr. Suess inspired edibles and some crafts for the kiddos. After our little party we headed over to the base community center where they were hosting a Who-Ville Picnic and showing "Horton Hears a Who."  We had so much fun celebrating such a great children's author...here's some of the pictures!

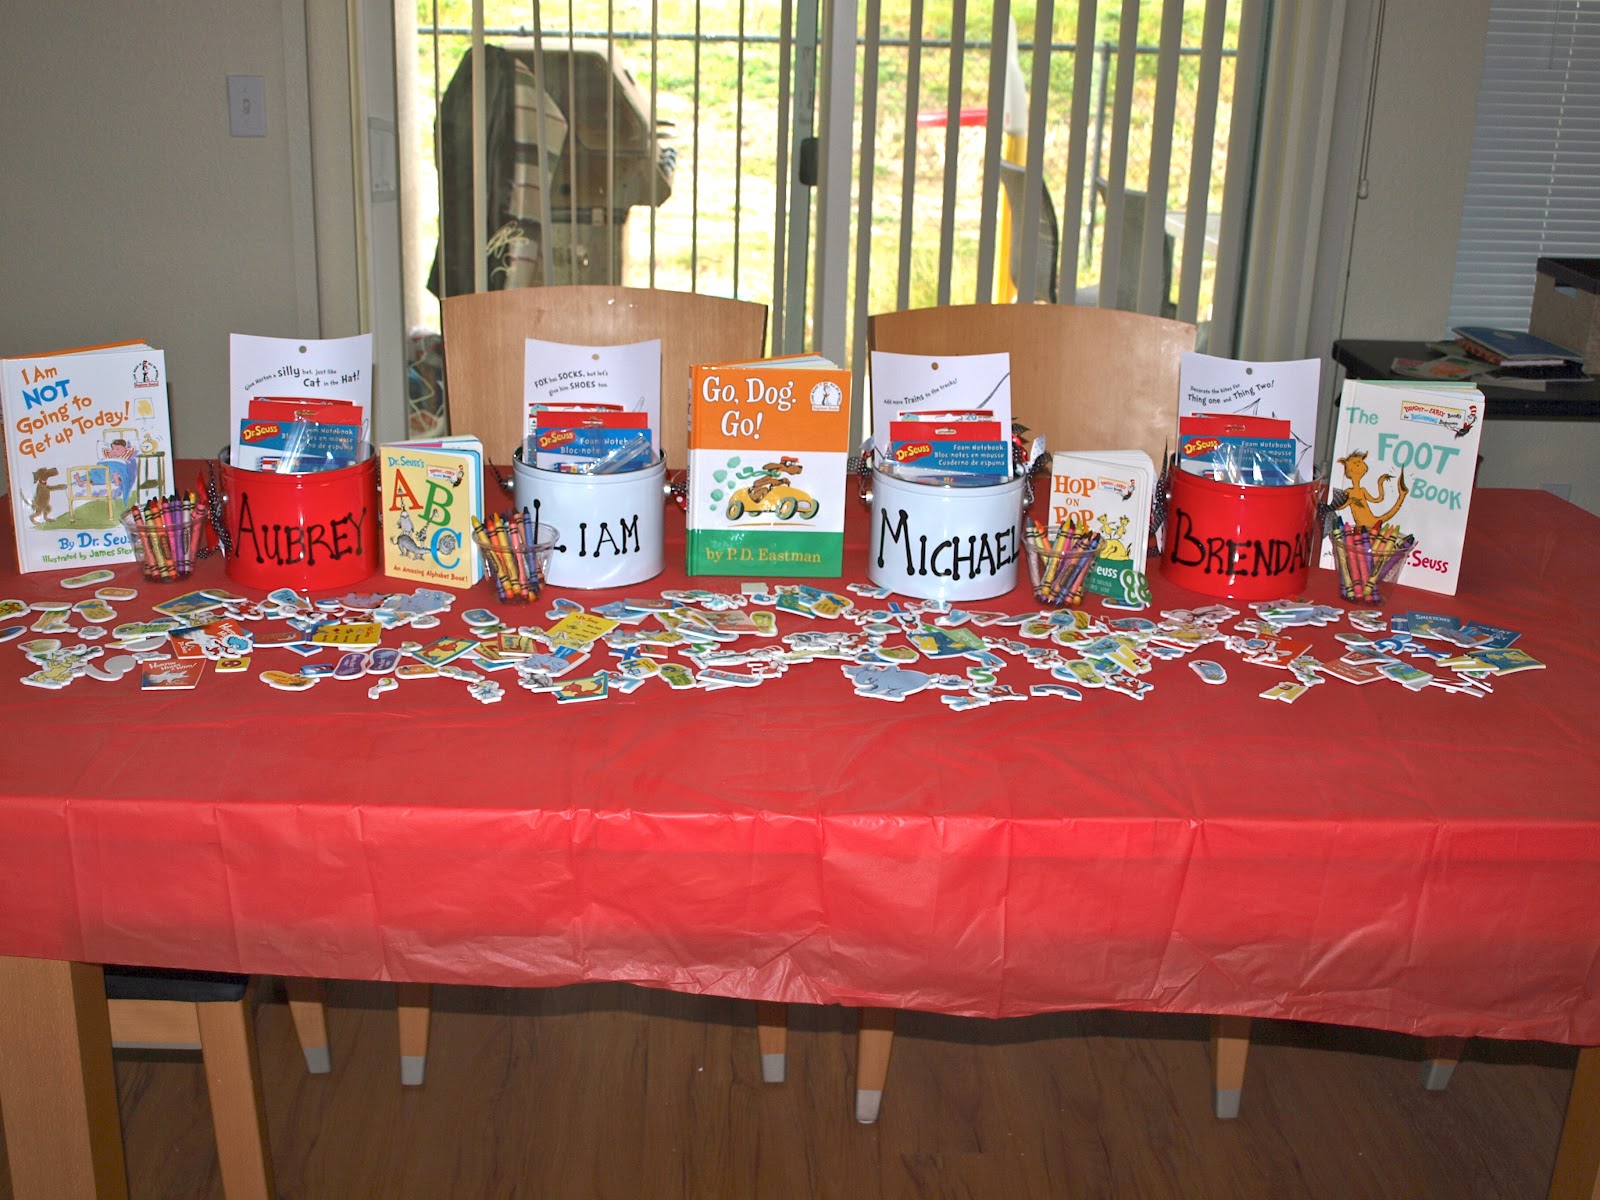
The craft table


Green Eggs & Ham

The Cat in the Hat


One Fish, Two Fish, Red Fish, Blue Fish


Horton Hears a Who


Craft Time

Watching "Horton Hears a Who"


Related Posts Plugin for WordPress, Blogger...
1 09 10